String art generator: turn a photo into a pin template and winding steps
Choose 1 photo, preview black thread on a white circular board, then download a numbered pin template and the winding sequence. Set 100–300 pins and up to 4,000 lines; everything is calculated in your browser.
Pin 0 is at 12 o’clock; numbers run clockwise. The gap is the shortest distance around the ring.
Your circular thread preview appears here.
PNG: 1,600 × 1,600 px. PDF: numbered pins only, 16 cm circle. Print at 100% / Actual Size and measure its 5 cm check line.
What this string art generator makes
This string art generator converts the light and dark areas of a photo into straight black threads between numbered pins on a circular board. It makes 3 practical outputs: a 1,600 × 1,600 pixel PNG preview, a one-page pin template PDF, and numbered winding steps as TXT or CSV. The pattern starts at pin 0, placed at 12 o’clock, with pin numbers increasing clockwise.
Each new line is chosen from the current pin to help fill a darker part of the photo. The calculation tracks where previous lines have already added darkness, then looks for the next useful connection. It can finish before the selected line limit when another line would worsen the tonal match. The preview is an approximation of overlapping thread, rather than a hand-painted portrait or a promise of professional artwork.
Examples
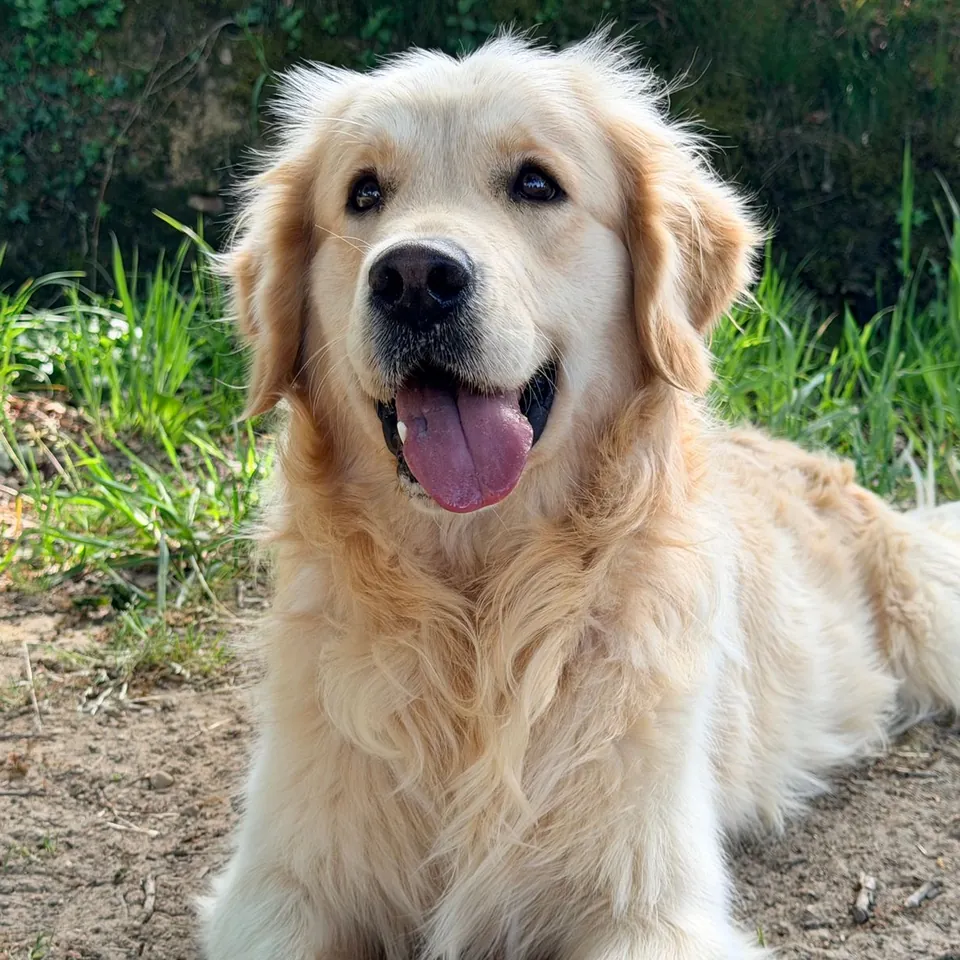
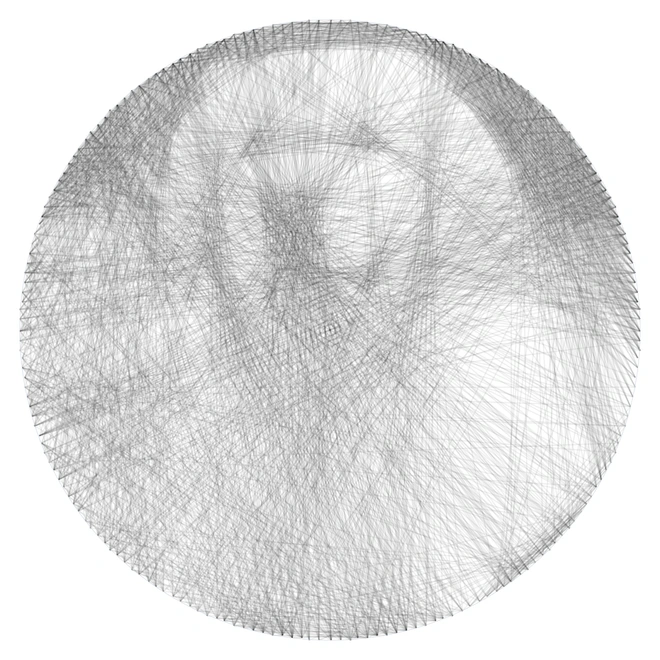
Make a string art pattern in 4 steps
Choose 1 JPG, PNG or WebP photo, no larger than 20 MB and 20 megapixels. Check the circular center crop; crop your photo elsewhere first if the subject is off-center.
Set 100–300 pins, a maximum of 1,000–4,000 lines, thread opacity from 2–20%, and a minimum pin gap from 2–30. Start with 200 pins, 2,000 lines, 6% opacity and a gap of 10.
Select Generate string art. Watch the progress and live canvas preview, or use Cancel. After changing the thread settings, generate again before downloading.
Choose a 10–18 cm board diameter and A4 or US Letter. Download the PNG, pin template PDF and TXT or CSV sequence. Print the PDF at 100% or Actual Size.
Choose pins, line count and thread opacity
More pins provide more possible line directions, but make the physical template denser. At 300 pins on a 10 cm board, adjacent pins are only about 1 mm apart along the rim. Choose fewer pins or a larger diameter if that spacing is impractical for your materials. The minimum gap counts the shortest distance around the pin ring, so a gap of 10 also excludes connections across the 0 boundary that are less than 10 pins apart.
The line setting is a maximum, not a requirement to use every line. More lines can build smoother shadows, while too many dark connections can hide a small feature. Opacity sets the estimated darkness added by a thread in the calculation and preview. It does not specify a physical thread thickness in millimeters. Compare several settings and use the preview to judge which preserves your subject.
Print the numbered template at its exact size
The PDF places the pin centers on a circle with your selected 10–18 cm diameter. Numbers alternate across 3 rings outside the circle to reduce crowding. Pin 0 is the top point; all remaining pins proceed clockwise. Use the same pin count as the winding sequence. Changing the board diameter changes the print scale, while the ordered pin connections stay the same.
Select the matching A4 or US Letter paper in the print dialog and use 100% or Actual Size. Disable fit-to-page scaling, then measure the included 5 cm check line before placing pins. Printer settings and paper handling can change scale. Follow each numbered connection in the on-page list or downloaded file; TXT includes the starting-pin instructions, and CSV has step, from_pin and to_pin columns.
Choose a clear photo and check the limits
A close subject, plain bright background and clear contrast usually translate better than a wide scene with small details. The photo is center-cropped to a square, masked to a circle, then reduced to 256 × 256 working pixels. Transparent areas are placed over white. Features outside that circle disappear, and tiny text, soft facial details and busy textures may be lost. The PNG is an enlarged thread rendering rather than the original photo resolution.
This version uses black thread on a white circular board. It does not produce colored patterns or rectangular layouts. Real nails, thread tension, thread thickness, spacing and board size affect the finished piece. The on-screen opacity cannot guarantee the same shade with physical materials; inspect the pattern before starting a long craft project.
Local files and image rights
Your selected photo stays in this tab. The calculation runs in a local browser worker, and the downloads are created on your device. The tool does not upload, store or host your photo or pattern. It needs no account or payment. Closing the tab clears the working pattern, so download the files you want to keep. Use a photo you own or have permission to edit, print and share; the tool grants no rights to the source image.
More free GIF and photo tools
String art generator questions
Is this string art generator free?
Yes. The preview, numbered pin template PDF and TXT/CSV sequence are free, with no sign-up or watermark.
Does my photo leave my device?
No. The photo, calculation and generated files stay in your browser. The tool does not upload or store them.
Can I print the pin template?
Yes. Choose a 10–18 cm circle and A4 or US Letter. Print at 100% or Actual Size, and measure the 5 cm check line.
Where do I start the winding sequence?
Start at pin 0 at 12 o’clock. Number pins clockwise, then follow each from-pin to to-pin connection in order.
Will the physical artwork match the preview exactly?
No. Photo contrast, thread thickness, tension and nail spacing all affect the result. The preview is a planning reference.